

![Show Off Your Designs With Custom Mockups! [Photoshop Tutorial]](https://cdn.hashnode.com/res/hashnode/image/upload/v1642362742438/E1CET-9v9.png?w=1600&h=840&fit=crop&crop=entropy&auto=compress,format&format=webp)


Table of contents

No headings in the article.
Having a great way to show off a design can be as important as the design itself! It's important to be able to show clients what a design will look like in use. In this tutorial, I will show you how to create your very own mockup template using Adobe Photoshop and a stock image.
The first step is to find a photo that is suitable for creating a mockup. The best photos for this purpose will have a blank canvas to work with, though shadows and light are just fine. For this tutorial, I will be using this photo, licensed from Adobe Stock:
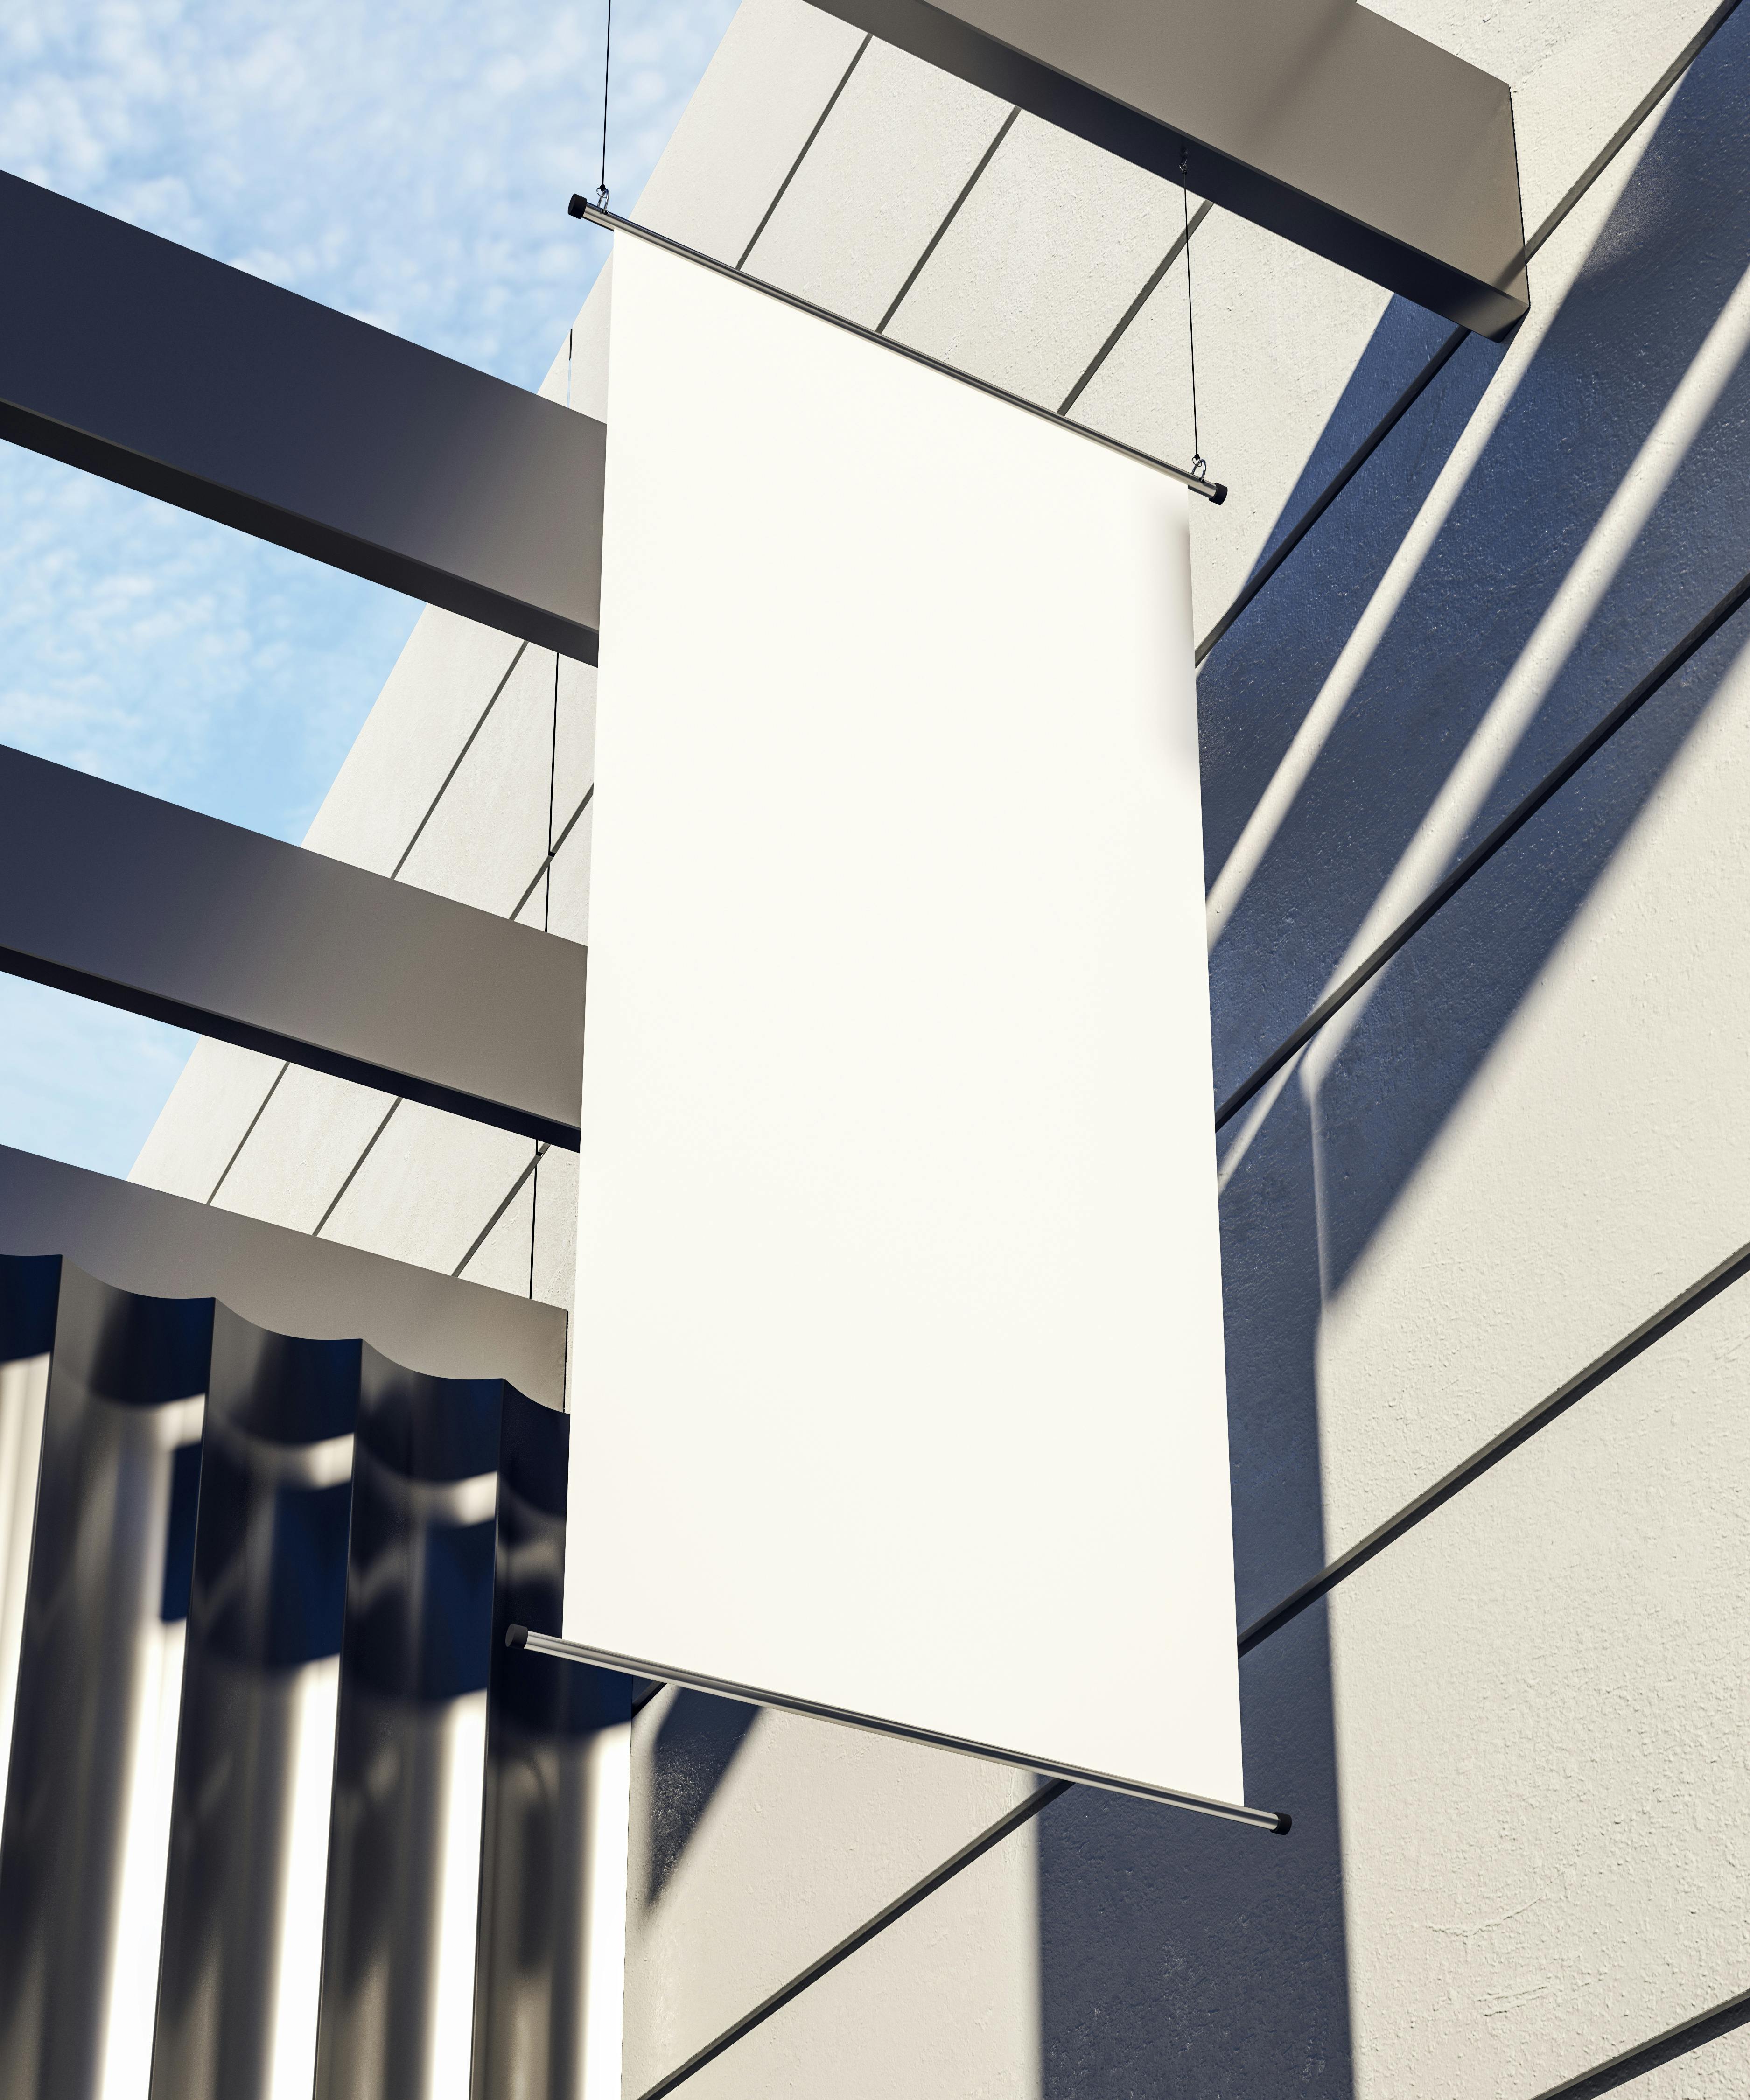 This mockup will be a banner, but this method could easily be used for front door signs, menus, flyers, or any flat surface.
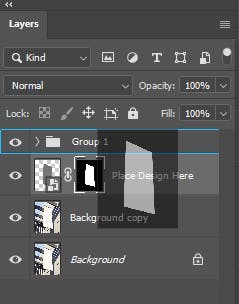
Create a copy of the background layer by selecting the background layer and pressing Ctrl + J (This isn't totally necessary, but it is good practice when using Photoshop).
Next, create a new layer by pressing Ctrl + Shift + N on the keyboard, giving it the name “Place Design Here.” That will be useful for using the template later.
Use the Rectangular Marquee Selection Tool
 to select a section covering the entirety of the area where the mockup will reside.
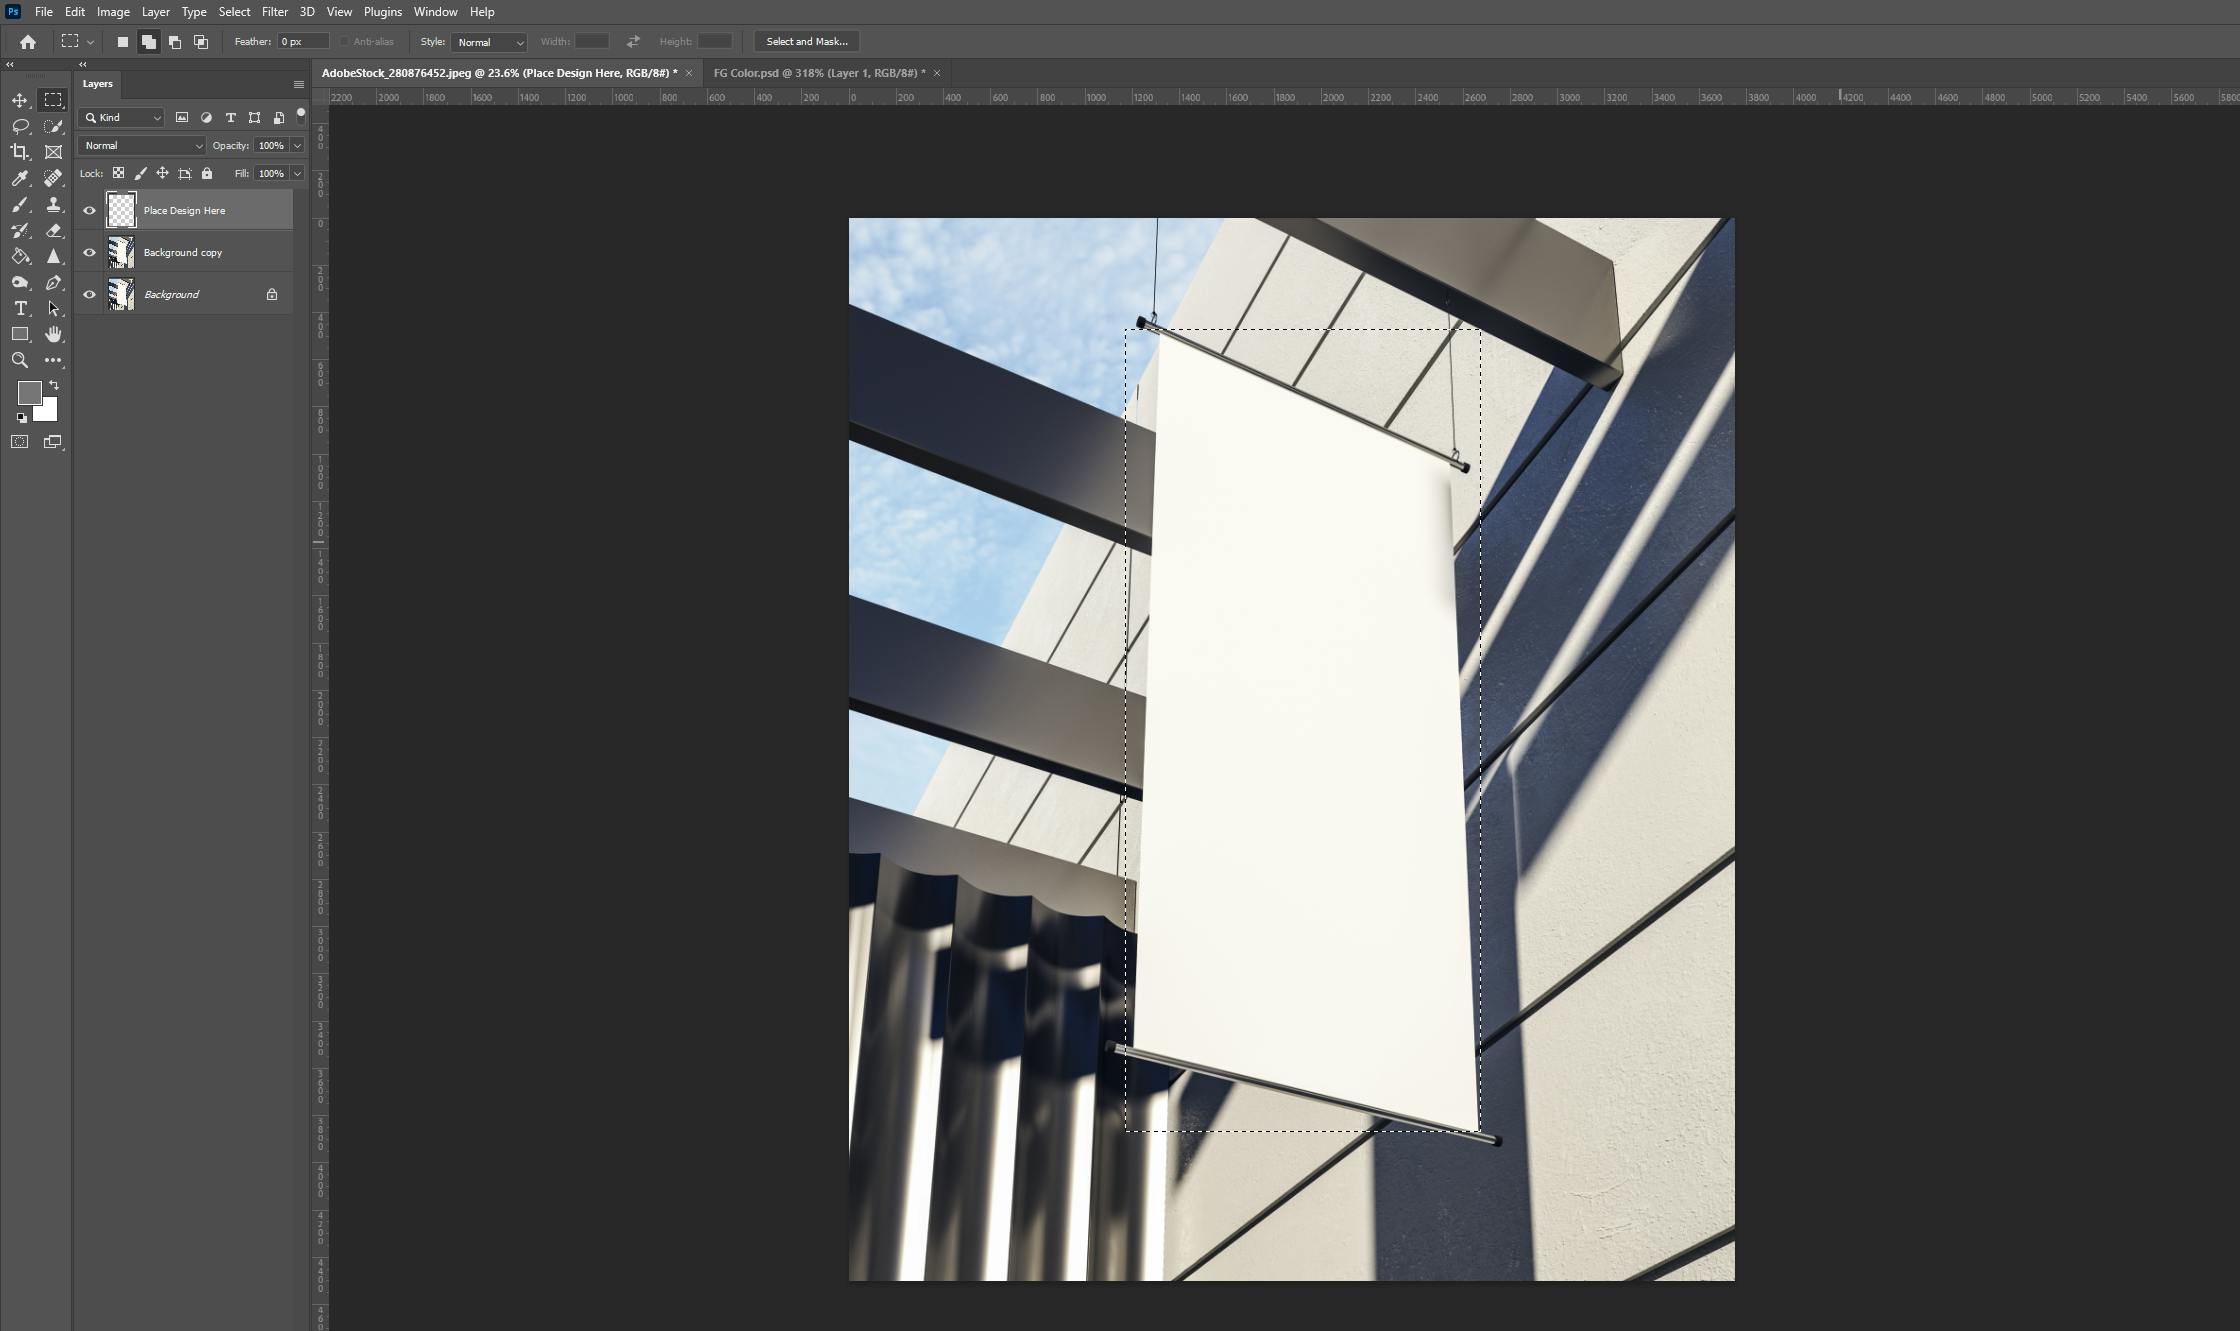
Make the selection wider than the canvas you would like to cover, but just slightly. It's okay if it's not perfect as long as you don't cut off any of the canvas. The important thing is that the selection completely covers the borders you will be mocking up.
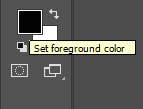
The next step is to fill in the selection with gray. Change your foreground color in the toolbar on the left by double-clicking it.
When the Color Picker dialog box comes up, type in the hex code 808080 to set an even gray color.
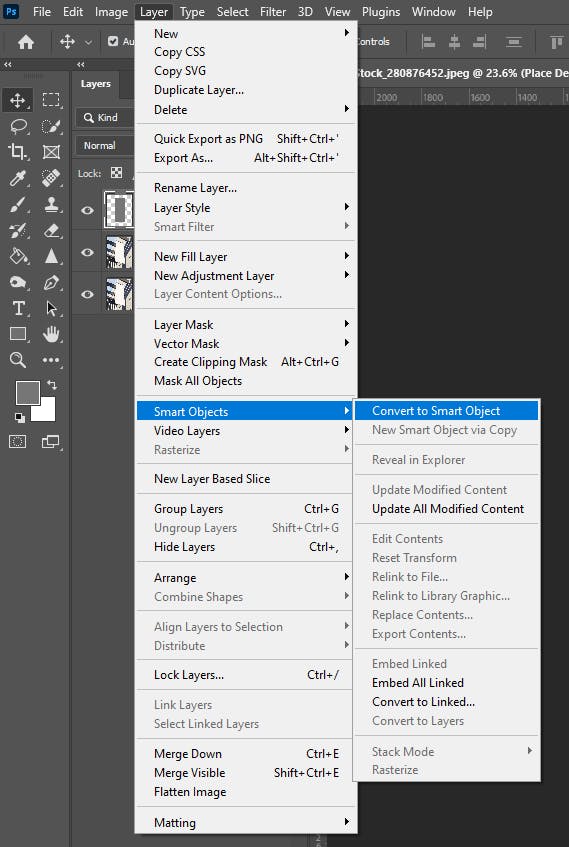
Next, press Alt + Delete (or Backspace) to fill the selection with the foreground color. Then, press Ctrl + D to deselect the rectangular marquee. The rectangle needs to be converted into a Smart Object so that a design can be placed on it later, so go to Layer > Smart Objects > Convert to Smart Object or right-click the layer and select Convert to Smart Object.
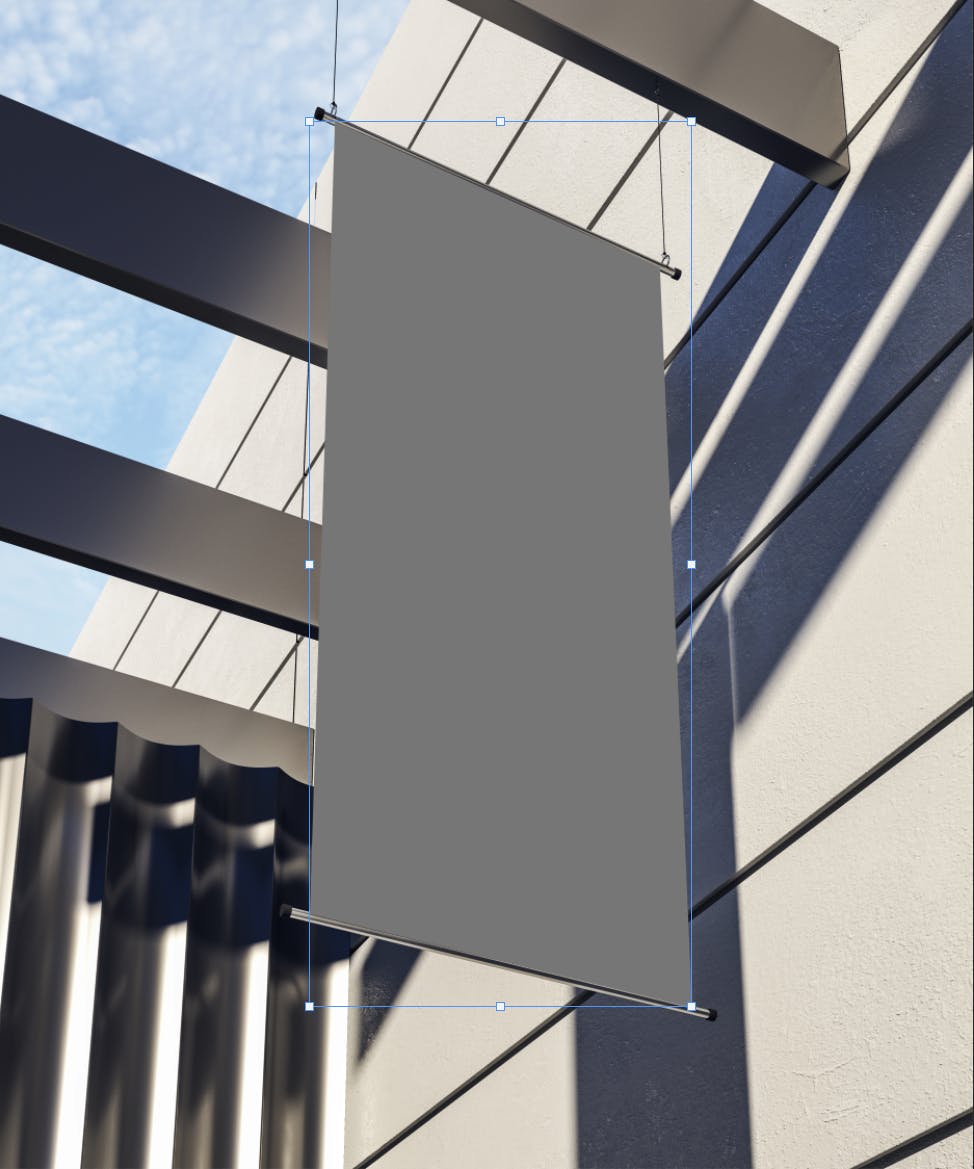
Now, make the smart object match the canvas more closely. To do this,
- Select the placeholder layer
- Press Ctrl + T for Free Transform.
- Bring the borders tight on your initial selection, then right-click on the rectangle and select “Skew.”
- Drag the corners of the rectangle to make them match the canvas more closely, but make sure that the placeholder covers ALL of the canvas area. You should have something that looks like this:
The next step is to create a layer mask that makes the placeholder match the canvas precisely. This can be tedious, but time and effort spent here will pay off as your template can be used again and again for future projects.
First, hide the placeholder layer by clicking the eye icon on its layer:

The Pen tool tends to be the best for the job because it can be incredibly precise.
Draw a path around the canvas, taking your time to make it perfect. Zoom in as necessary to get precise.
Once the path is drawn around your canvas, find the Paths panel. If you can’t find it, go to Window > Paths. Within the Paths panel, click the dotted circle to create a selection from the path.
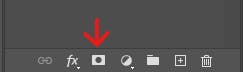
Once the path is selected, apply it as a mask by clicking the Add Layer Mask button in the Layers panel:
The mockup should look something like this:
If you use this mockup as-is, it would lack realism because it is missing the lighting and shadows that are on the canvas in the original photo, here's how to add those.
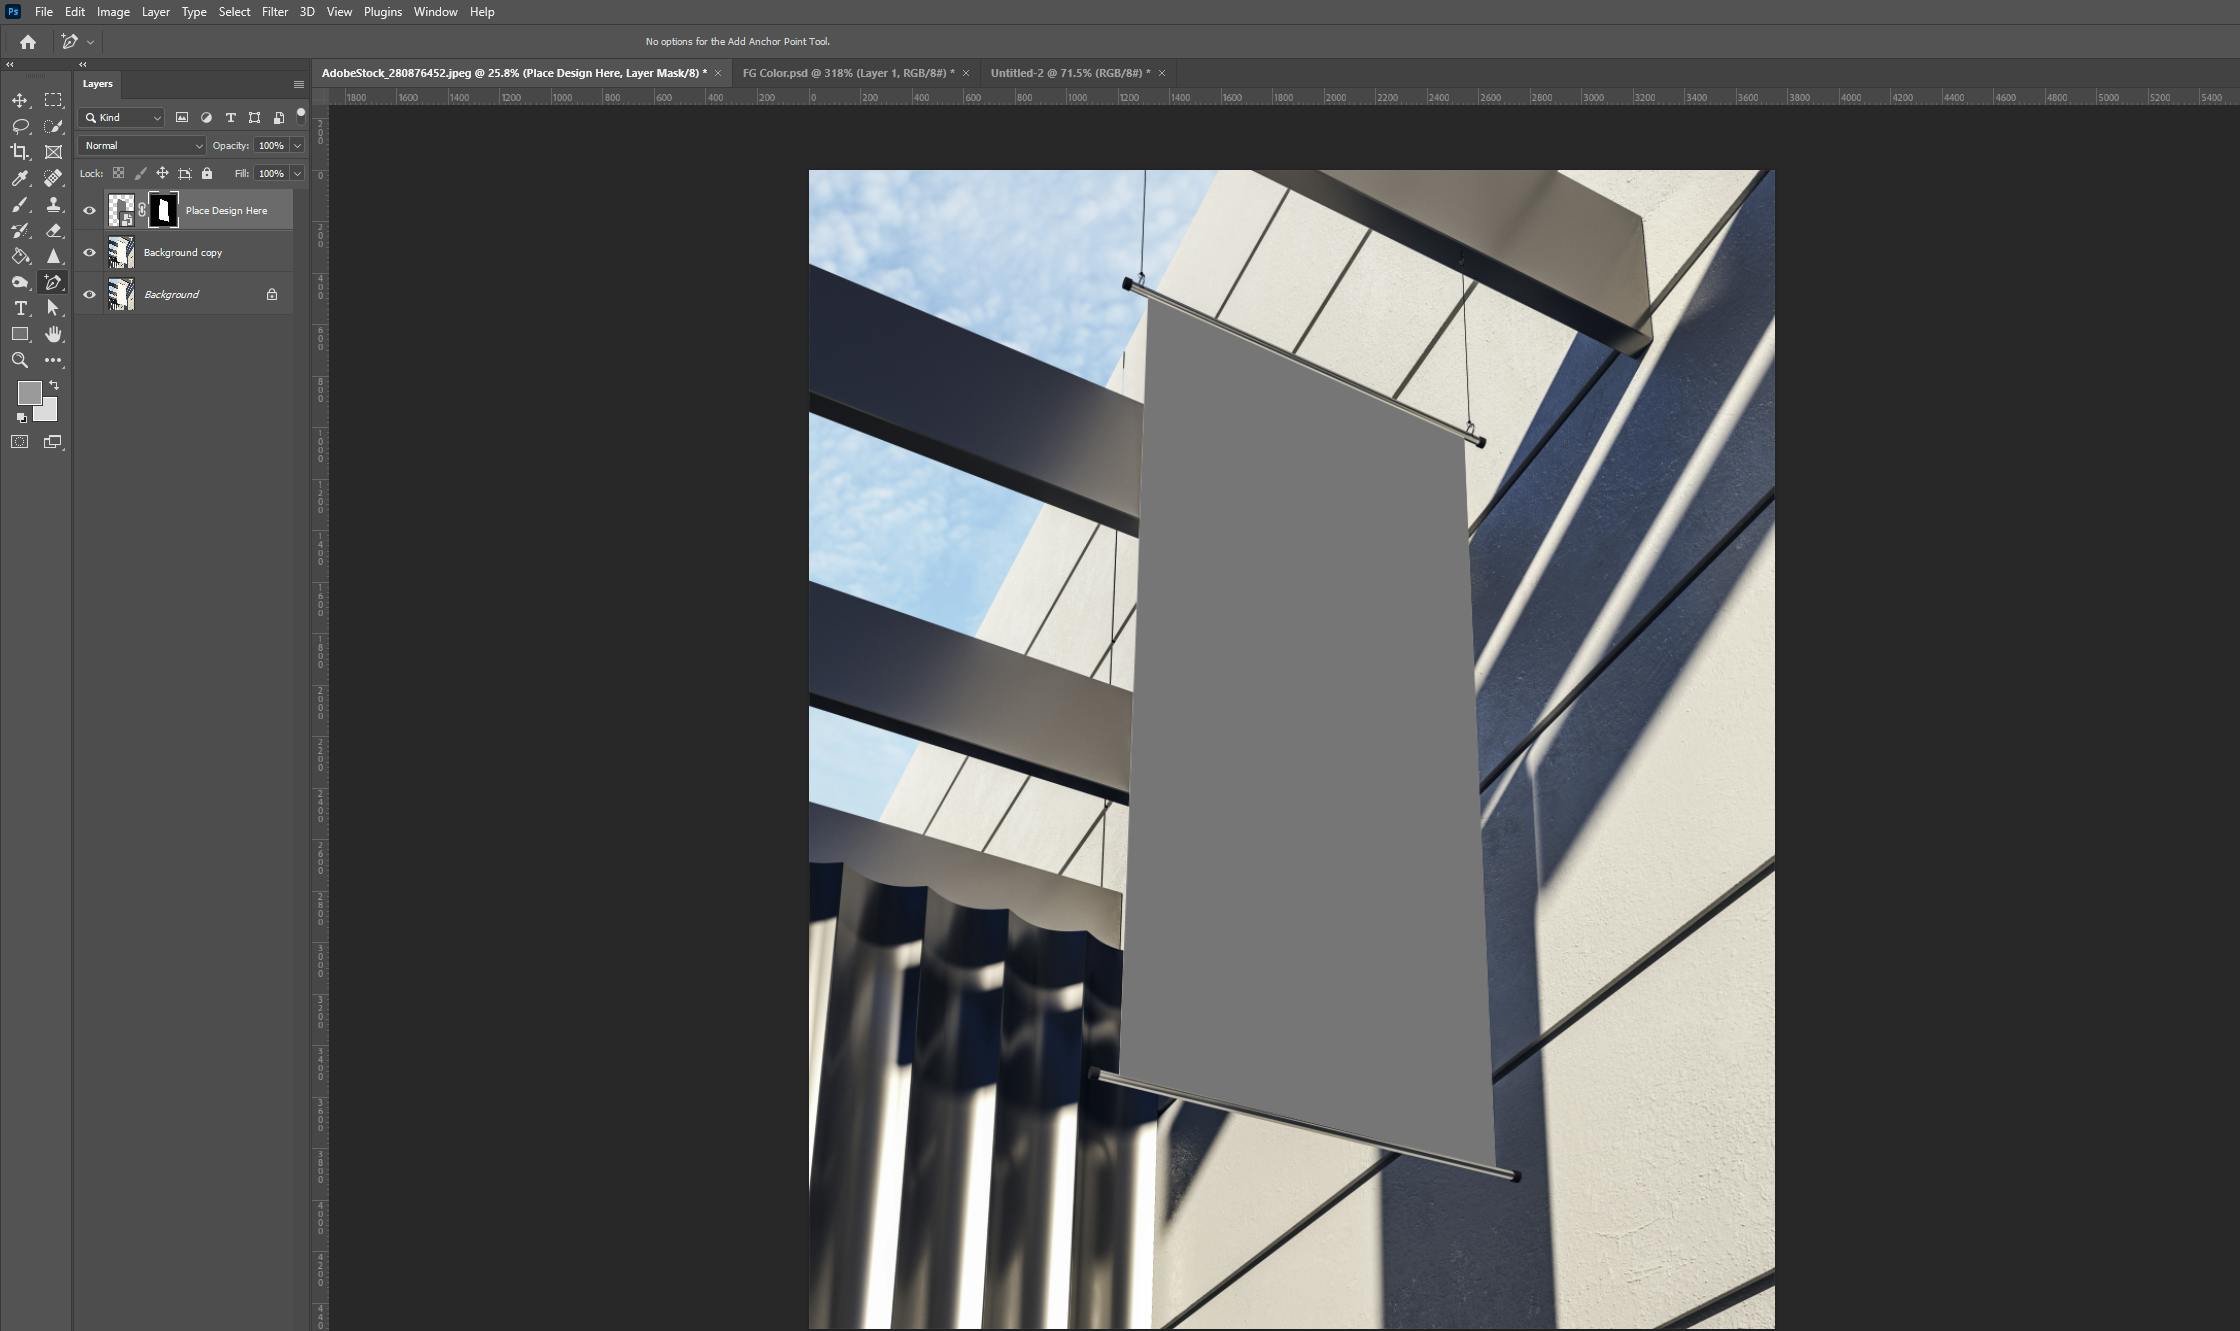
Make two copies of the background layer by selecting the layer and pressing Ctrl + J on the keyboard twice.
Rename the two layers to “Shadows” and “Light,” then drag the two layers above the placeholder layer:

For the Lights layer, change the blend mode to “Screen” and for the Shadows layer, change the blend mode to “Multiply.”
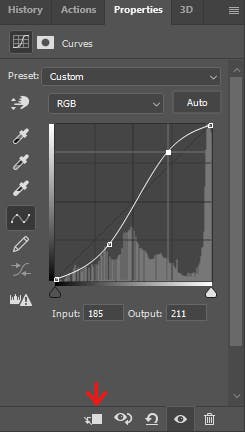
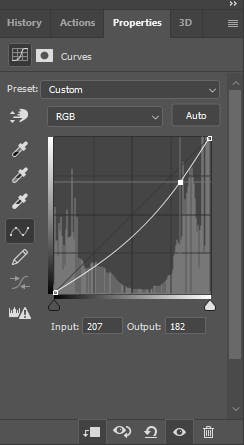
Next, create an adjustment layer for the Lights layer by clicking the “Create a new fill or adjustment layer” button at the bottom of the Layers panel.

and select “Curves...”
Lighten the highlights by clicking somewhere on the upper right of the curve and dragging up slightly, then lower the other end of the curve slightly. Small adjustments go a long way here, but they can and should always be adjusted later. Make the adjustment layer into a Clipping Mask by clicking the button highlighted in the photo below, or press Ctrl + Alt + J on your keyboard:
Create a similar adjustment layer for the Shadows layer and be sure to make it a Clipping Mask as well. Darken the highlights on the Curves panel just slightly:
Next, group the Lights and Shadows layers together and rename the group “Lights and Shadows.” Select both layers by clicking one, holding the Ctrl key, then clicking the other. Create a group by right-clicking and selecting “Create group from layers...” or pressing Ctrl + G on the keyboard.
Finally, mask the Lights and Shadows group with the same mask that is on the placeholder. This will make it so that the changes we made to lights and shadows will only apply to the canvas area. To do this, hold Alt on the keyboard while dragging the layer mask upward until it highlights the group we are applying it to, then release the mouse:
Once you have completed all of these steps, save the file as a Photoshop template. To do this, click File > Save As... and change the file name to anything with the file extension “.psdt”

When a file is saved as a Photoshop template, each time it is opened it creates a brand new document for your mockup. This way, you can re-use this template later on without having to edit a file that has already been mocked up.
Close the file, then reopen it. It’s finally time to add the design to the mockup.
Double click on the gray rectangle within the Place Design Here layer. This will open a new tab within Photoshop where you can place your design. Simply click File > Place (Linked or Embedded is fine) and find the file of your choice.
Resize as needed to fit the rectangular canvas, then save the file by pressing Ctrl + S.
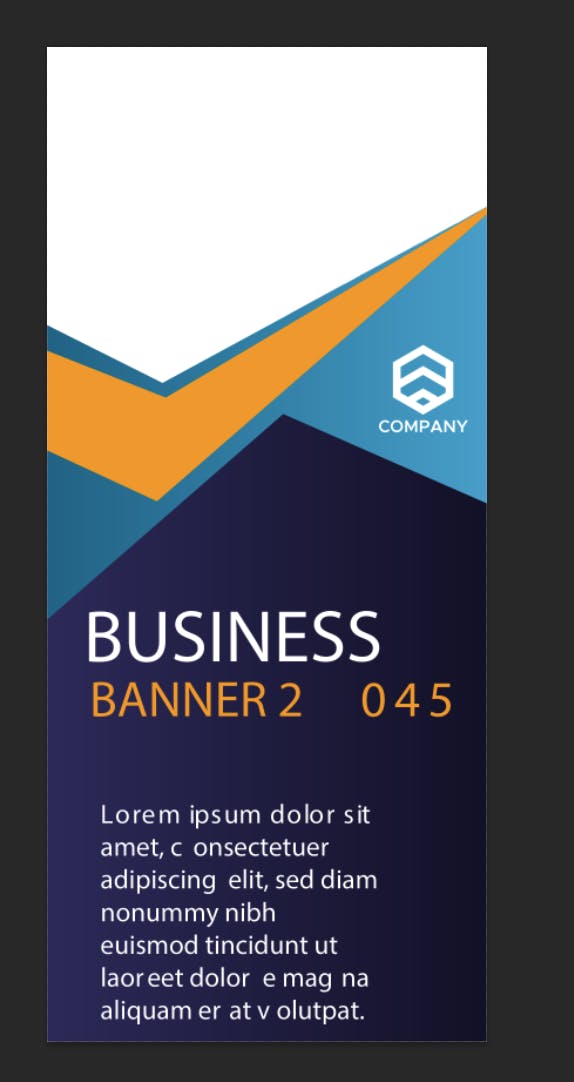
You can close this tab or leave it open for additional changes. Return to the original document and you should see that it has changed to include your design! The beauty of a template file is that you can add any design to it and it will be applied to the mockup photo.

You can use this method for any type of signage or flat mockup. Anything with curvature will need a different method, though the process is similar.
A big thank-you to PixImperfect on YouTube for teaching me how to do this. I added some valuable detail in this post, but if you'd like to watch the video that taught me how to do this, head to this link.